Soil preparation is a major issue for gardening. If you do not properly prepare the soil for pots, you will not get better results in planting, and your plants will not properly grow. In this article, you will learn how to prepare soil for planting in pots and also discuss 07 fatal mistakes in preparing soil and how to avoid them. If you carefully read this article, you will find a proper idea about how to prepare soil for planting vegetables in pots, which is helpful for planting vegetables or plants.
Table of Contents
How to prepare soil for planting in pots
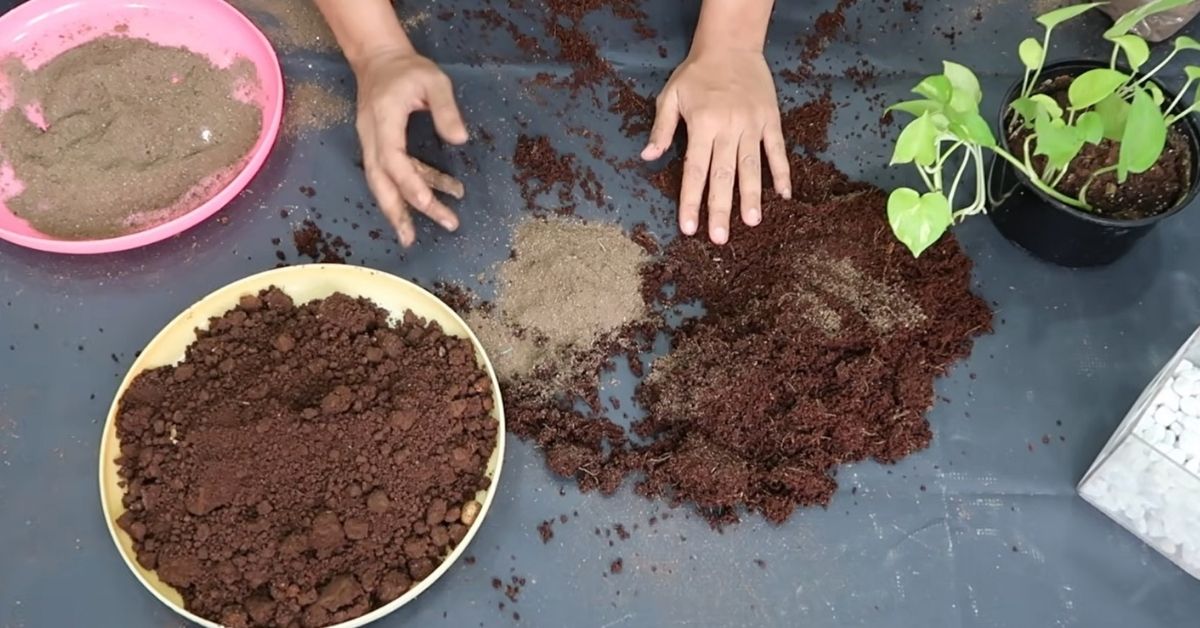
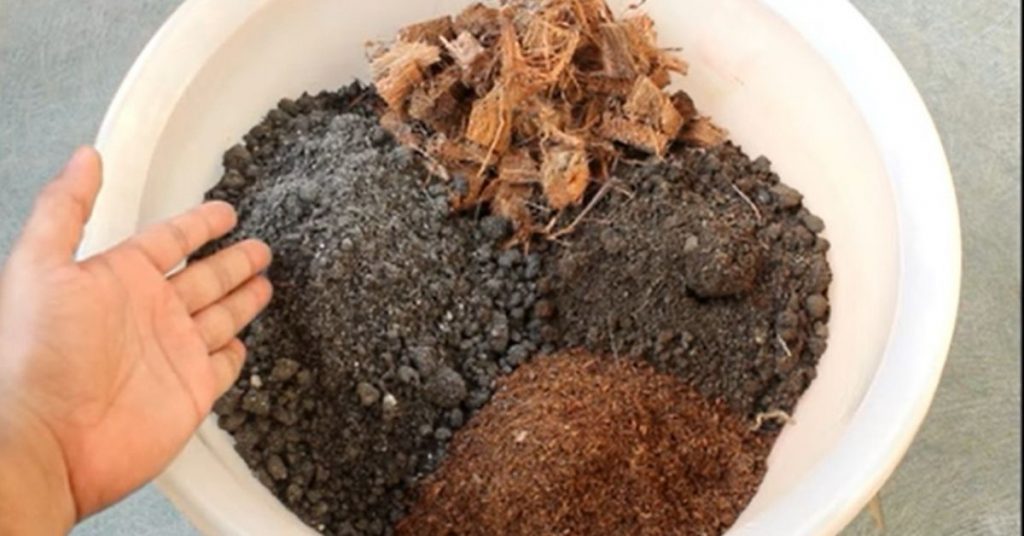
If you want to plant or like to garden in your yard or in front of your house or windows, the first and main ingredient is soil. The second thing is that if you have a garden around your home or a yard, you can just dig it up from there. Coca peat is another ingredient that is basically prepared coconut fibre, so it is added to the water.
It is also that coco peat is basically dried and compressed coconut fibre and the main job of coconut fibre or coco peat in the soil is to hold water.
I am actually preparing the soil for just one part today and might not need the entire coconut fibre, so it’s okay to save the rest of it. However, even though it is increased in volume and it holds moisture.
How to prepare pots for planting
Now we have two ingredients ready. One is soil and the other is coconut fibre. It is an equal amount and thing. You need to collect any source of nutrient compost, but if you don’t have this available, it’s okay. You could just add some fertilizer. The two most important things are coconut fibre and soil.
Most people also like to add perlite so that we can use it for suckling. The soil perlite helps in good drainage for regular pot soil. You can avoid it; we just mix these three things. Now I’m going to add them to this pot.
The potting soil mix ratio and ingredients
Before we discuss how to prepare soil for planting in pots and we discuss the potting soil mix ratio and its ingredients.
My three-ingredient soil, coco peat, and fertilizer are ready, but what is the best ratio for mixing soil with coco peat? In my pots planting gardening experience, you can use equal soil and coco peat. Then mix some fertilizer. You can use your normal sense of using a fertilizer with it. It is better for medium-sized pots to use 100-gram fertilizer.
Before adding this to the pot, you should stop the drainage hole; otherwise, the entire soil would go out of the pot’s drainage hole.
I’m using this gravel. Now you can use bigger ones as well. So I have one good layer of this gravel at the bottom of the pots. It will allow excess water to go down but not let this oil escape.
I am going to put a fig in this soil. Actually, it was drying up. The port was too small for it. Therefore, I shift it to the bigger pots all right, so we have the pot ready with the soil.
How to make potting soil for indoor plants?
If you ask this question, the answer is also the same. That is before we say anything in this article. It is also an easy process, and you can easily mix soil, coco peat, and fertilizer for indoor plants.
7 fatal mistakes in preparing soil and how to avoid them
Most people also like to know why their seeds are not germinating or sprouting.
This knowledge and certain tricks are also written in this article, and you might take your vegetable gardening to the next level, and you can achieve nearly 100% success in seed germination.
Seeds are magic for gardens.
Tuck them into the soil, add a little water, and you’re on your way to a beautiful bloom or a tasty harvest. However, if you are a beginner or an expert gardener, you will certainly improve your success by avoiding these common errors that will be discussed shortly.
Germinating seeds is a simple process, but when seeds do not sprout, you feel disappointed and you can lose interest in gardening. But you should always take time to evaluate or diagnose the problem.
Please read the article carefully where it discussed some very important issues and also the answer to my previous query – Why didn’t my seeds germinate?
Here are the 7 fatal mistakes made in preparing soil and how to avoid them.
1. You are making use of non-viable or old seeds.
If your seeds have not sprouted within the proper number of days, then most likely, the most major reason could be that the seeds are not viable. Always check the expiry date or best before date on the seed packet and also purchase seeds from reliable sources.
This seed viability issue can even be due to improper storage of seeds, like in moisture, which can cause them to rot or mould. Here are two simple methods to test whether your seed is viable.
The first method
A. Simply click here Pour the seeds into a container of water and if the seeds are floating, they are not viable. Just discard them and choose only those that have sunk to the bottom.
B. Checking the seed expiration date using a wet toilet paper method.
Pour some seeds on wet toilet paper and keep it in a zip lock bag for 24 to 48 hours to check for sprouting to check viability.
C. Another important point to remember is seed pod maturity, especially if you are growing from seeds of a fruit or vegetable. A fruit or vegetable develops from a flower after the pollination and fertilization processes and is nothing but a seed pod.
The seeds from green bell peppers did not germinate, but those from the yellow and red peppers germinated to nearly 100%. The capsicum or bell pepper gradually matures from green to yellow, orange, and then finally red.
I hope it helps answer the question!
2. PLANTING TECHNIQUE THAT IS IMPOSSIBLE
What is the best depth for sowing seeds?
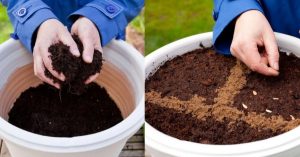
The rule of thumb is to plant seeds at a depth equal to two times or a maximum of three times their width, so it is better to plant seeds too narrowly than too deep. It is better if you avoid pressing down on top of your seeds after you plant them.
3. POTTING MIX OR SOIL CONTAINING BAD SEEDS:
A poor seed starting mix or soil is a major factor in the success rate. Early seeds in garden soil alone are not suggested because this soil is too compacted and the seeds cannot sprout. Also, if it contains large pieces of stones, wood, and other stuff like that, it can prevent the seeds from sprouting freely. Furthermore, this soil is full of harmful pathogens that can affect seed germination and also the health of the seedling.
Many gardeners suggest baking this soil in an oven at 180 degrees for 30 minutes to kill most weeds and pathogens. So, it’s always better to prepare your own seed starting mix without using garden soil, and this is the best answer to how to prepare soil for planting in pots.
4. CORRECT SEASON AND CORRECT TEMPERATURE:
Another common error in seed germination is incorrect temperature and wring season. The season depending on the zone you live in is really important, because the temperature is a very important factor for seed germination. Temperatures that are too high or too low can cause problems with germinating seeds. So, try to follow the planting season of the zone you live in.
5. IMPROPER WATERING:
Seed germination is highly dependent on watering. If it’s too dry, the seed fails to sprout! And if it’s too wet, they will rot in the dirt. Seeds need to be moderately moist to sprout, and this is actually difficult to assess.
It is also very young seedlings that are even tenderers and can die due to improper watering. The best idea to water these are using a bottom tray method. Just keep the bottom tray filled with water and do not water it from the top. If the potting medium is dry, it starts to engage water through the drainage holes. This method goes on and is a property safe method of watering seeds and tender seedlings.
6. DIRTY OR UNSTERILE CONTAINERS OR SEED TRAYS:
For a better success rate in seed germination, it’s always wise to use a fresh new container or thoroughly clean the old containers before adding the potting mix. Mycological and mould poisons are the most common infections from dirty containers.
If impurity occurs, you will notice a fuzzy growth on the top of the planting medium and you may also see that a seed sprout, but then rots at its base and falls over. This is said damping off, and it is produced by a fungal infection in your soil.
To clean your old containers, you can use hydrogen peroxide or even use your kitchen baking soda – like 1 tablespoon per litre of water and clean the containers with this solution. Otherwise, simply clean it with soap and water or even a thinned bleaching powder.
7. SUNLIGHT’S ROLE:
Do seeds require sunlight to germinate? For most of the seeds, sunlight is not mandatory for sprouting. The dark, damp and warm conditions are best for the sprouting stage of germination. But once the seeds sprout and two new tiny leaves are out, they need sunlight. You must follow the “Hardening Off” Method, which means a gradual exposure to sunlight, like 1 hour for the first day, 2 hours for the second, 3 hours for the third, and so on, to provide full sun exposure.
Final observation
The soil is more important for plants in the pots. This article discusses how to prepare soil for planting in pots and also discusses seven fatal mistakes in preparing soil and how to avoid them. It is very helpful for successful gardeners.
Recent Posts You May Like:
- How to Plant a Flower Seed Step by Step

- How much to charge for tilling a garden

- Ego Select Cut Lawn Mower Review and Buying Guide

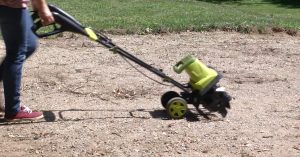
- Sun Joe Electric Garden Tiller/Cultivator Review for Gardeners

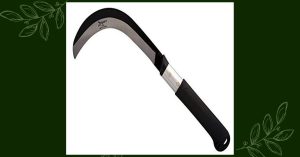
- Best Harvesting Knives Sickles | Zenport K310 K10 Harvest Sickle

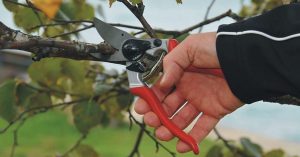
- Felco Ergonomic Hand Pruner with Cutting Capacity

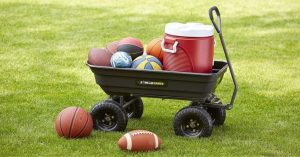
- Gorilla Cart 600 vs 1200 Reviews and Buying Guide 2023

- Best Rolling Snow Pusher Review | Snowcaster 30SNC

- What is the Most Powerful Leaf Vacuum?

- VIVOSUN Grow Tent Review with Buying Guide 2023

- Agri Fab 45 0463 Broadcast Spreader

- Best Worth Garden Stand up Weeder and Root Removal Tool

